Good afternoon beautiful Hive souls…. I have been very quiet lately as I got stranded in Kampot for a while when they closed provincial borders due to COVID-19. I am so happy to be back home… I missed my hubby, animals, the ocean, and all the green Kep province has to offer.
Though I stayed at one of the most beautiful hotels in Kampot with a stunning swimming pool - my friends offered me a free room there for as long as I needed one - it was so strange to be stranded only 22km (or 13.5 miles) from my home.
It was either being stranded or having to close the business for a few weeks… being stranded it was.
I have been back home for a week now. Things, however, have been very hectic so I haven't had time to post until now… but I am not going to bore you any further with what happened the past few weeks as I have something far more interesting to share with you today.
100% RYE SOURDOUGH STARTER
Dreaming of making your rye sourdough pancakes or bread? Today I will show the ancient method of capturing wild yeast to create an all-natural leaven that can be used to make bread or baked goods.
Though you could use about any flour to make a sourdough starter, we just love a good, dense, and nourishing 100% rye bread. Having a slice of homemade sourdough rye with smashed avocado is a very yummy and satisfying breakfast that fills me up for the rest of the day.
Though you hardly need any equipment and ingredients to make a sourdough starter, you will need some patience as it takes about 7 to 10 days to get a good starter to use as a base for your bread or baked goods.
Once you get a healthy starter going it is super easy to keep it healthy and alive.
Using a sourdough starter as your leaven will make the bread more storable and digestible. Also, thanks to the fermentation process many micro-nutrients (vitamins, minerals, etc) can be better absorbed compared to bread made from dry yeast.
Instructions
Though some people like to add a little lemon or pineapple juice in the first few days of creating a sourdough starter, I just used water and flour and my starters always turn out just fine.
According to some people, it’s much easier if you start with a slightly acidic solution to help ensure the right bacteria colonize the starter. After you got a well-established and bubbly culture, it will produce enough acid to inhibit other bacteria. But as mentioned earlier I have never added lemon or pineapple juice and never failed t create a sourdough starter using this simple method.
Day One + Two - Set Up Of the starter
- 3½ tbsps rye flour (opt for good quality, organic flour for the best result)
- ¼ cup unchlorinated water or filtered water
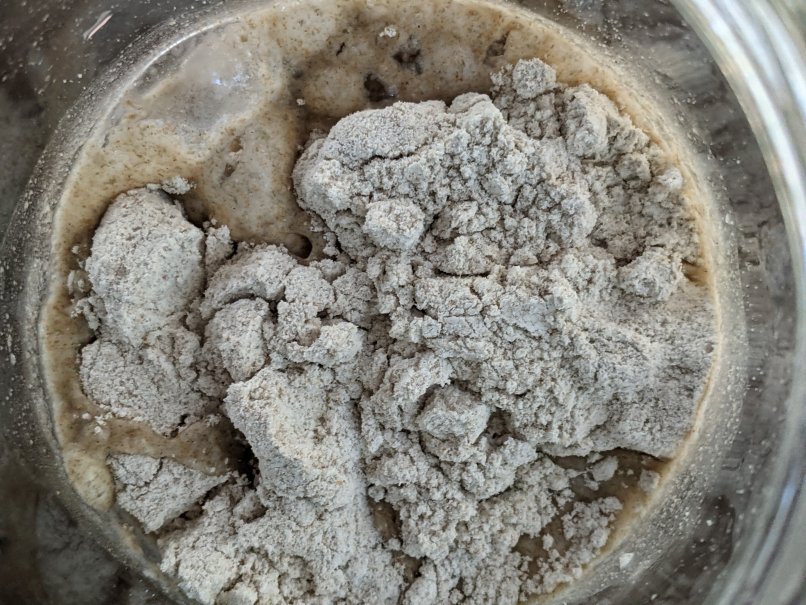
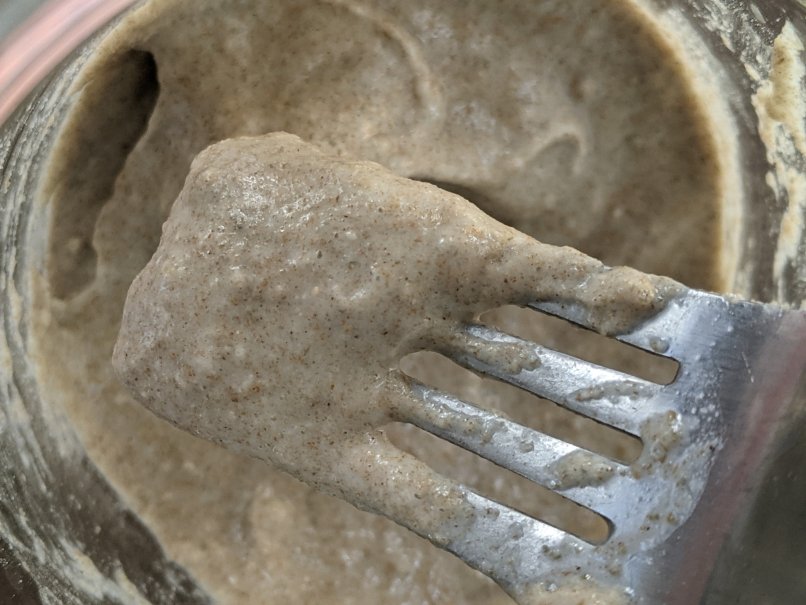
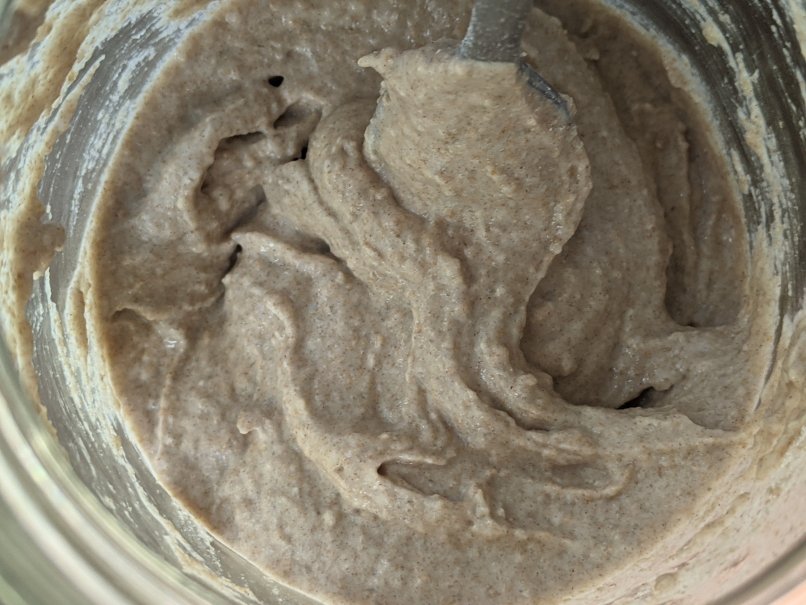
In a bowl or glass jar mix the flour and water until you have a smooth, loose paste. Cover with a towel or coffee filter and secure with a rubber band. Let sit on the counter at room temperature for 48 hours. Make sure no direct sunlight comes onto the jar.
Three to four times a day the mixture needs to be aerated to keep the bacteria happy and to make sure the right kind of bacteria colonize your mixture. Skipping this step is why so many people fail to get a good starter going.
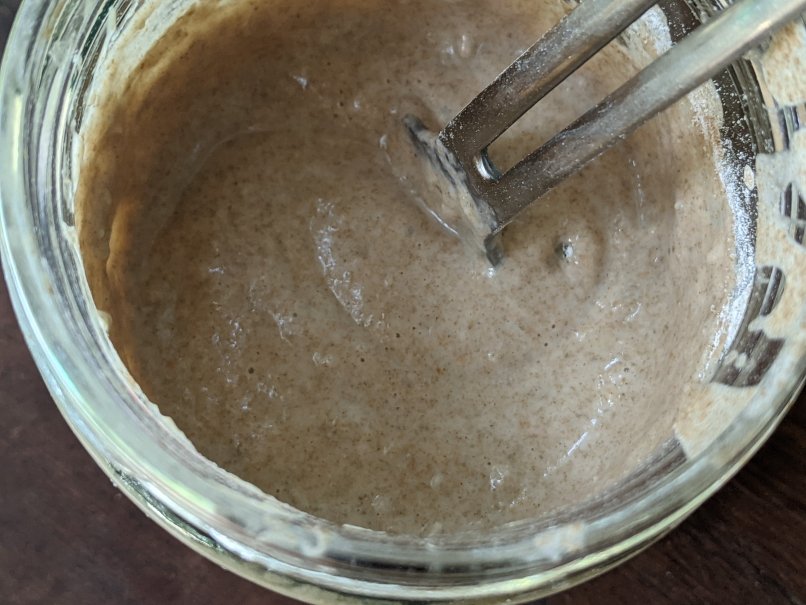
The only thing you need to do is stir the mixture for about 1 minute (3 to 4 times a day). Using a wet fork will prevent too much of the starter from sticking to the fork.
Day Three + Four - Feeding Of The Starter
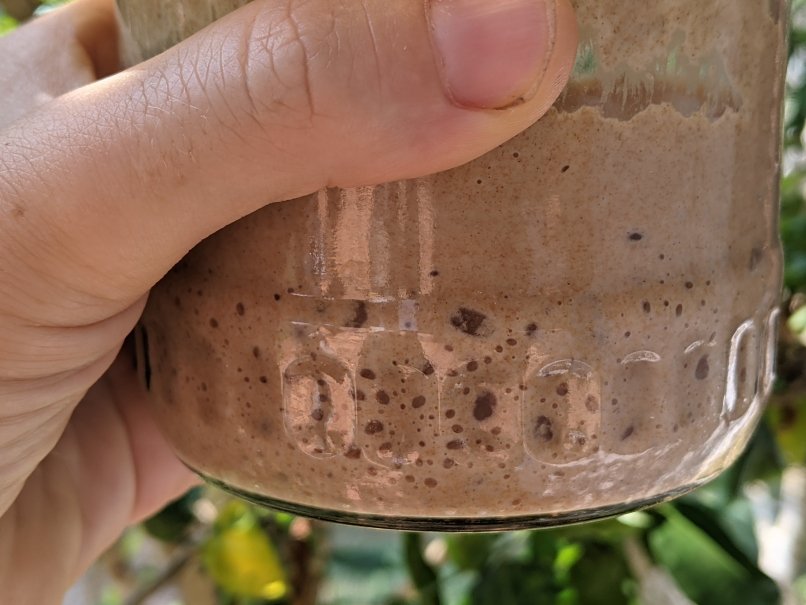
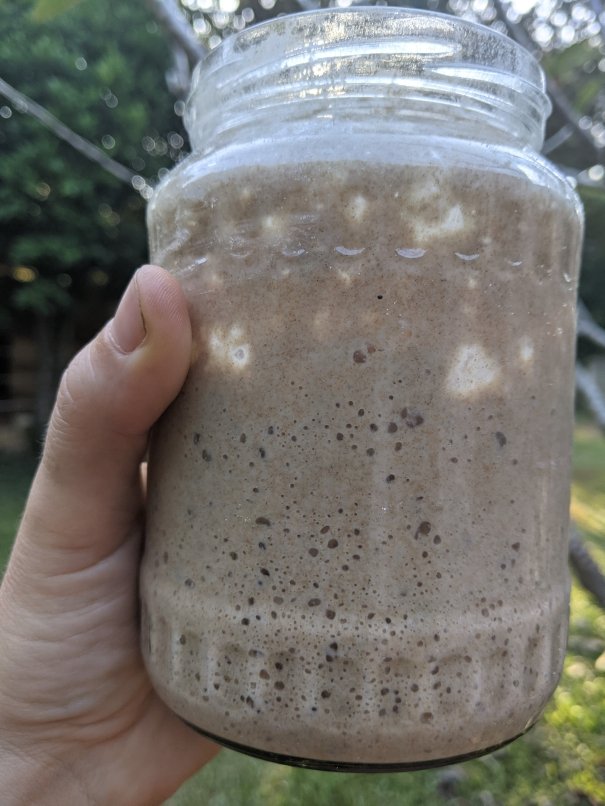
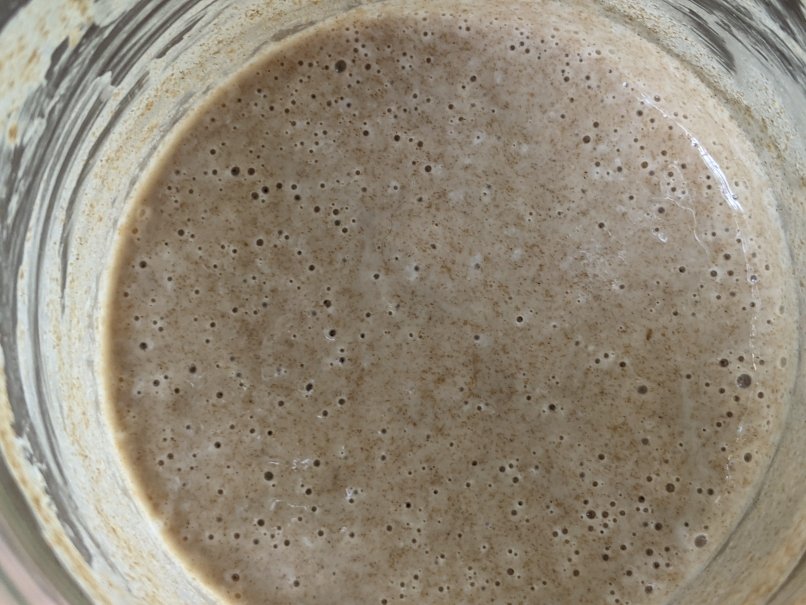
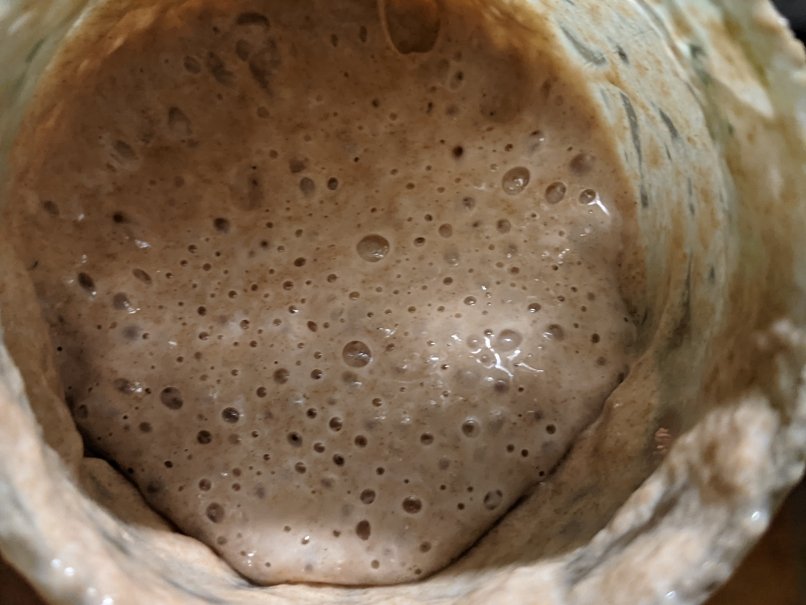
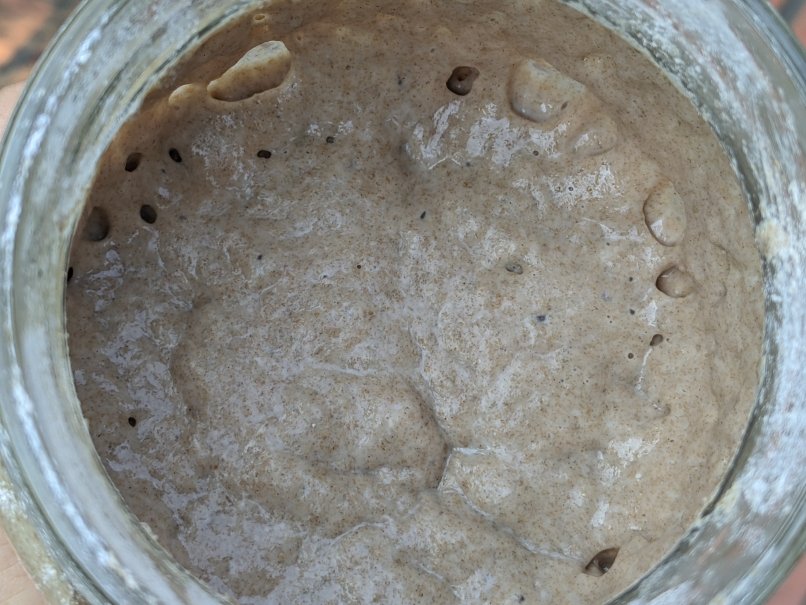
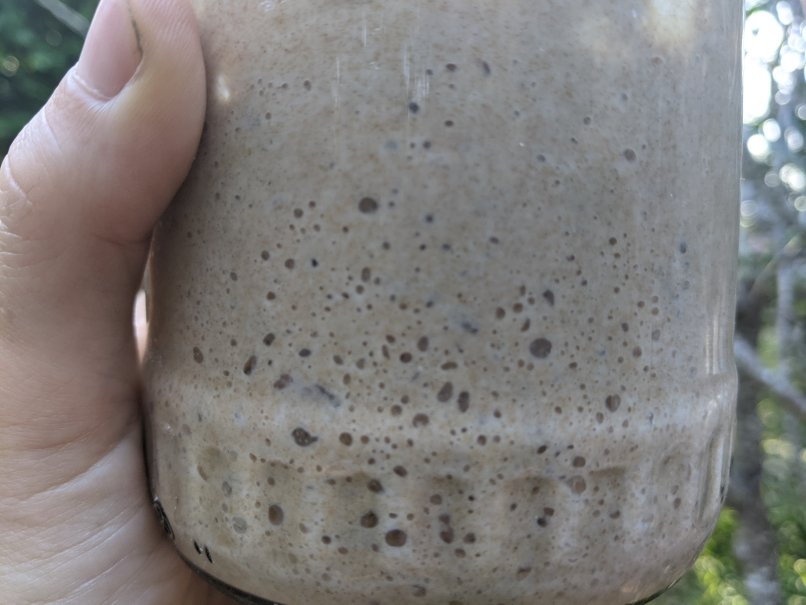
Depending on where you live you might already have noticed some bubbly, foamy action in your jar the past 48 hours. If not, don’t despair, I live in the tropics where things tend to ferment a little faster.
Whether you already see bubbles or not, it’s time to feed your starter for the first time.
Add the following quantities to your jar and stir well:
- 2 tbsps rye flour (opt for good quality, organic flour for the best result)
- 2 tbsps unchlorinated water or filtered water
Let the mixture sit for another 48 hours, stirring 3-4 times a day.
Day Five - Active Culture
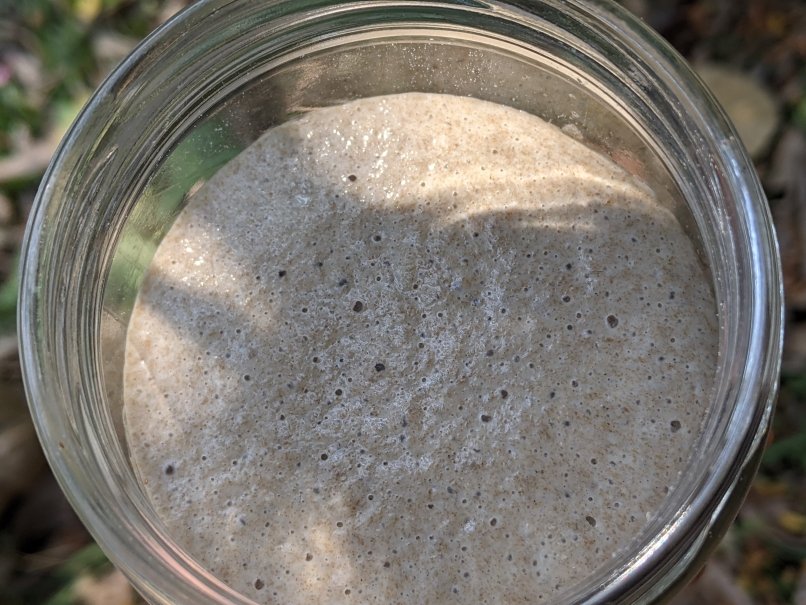
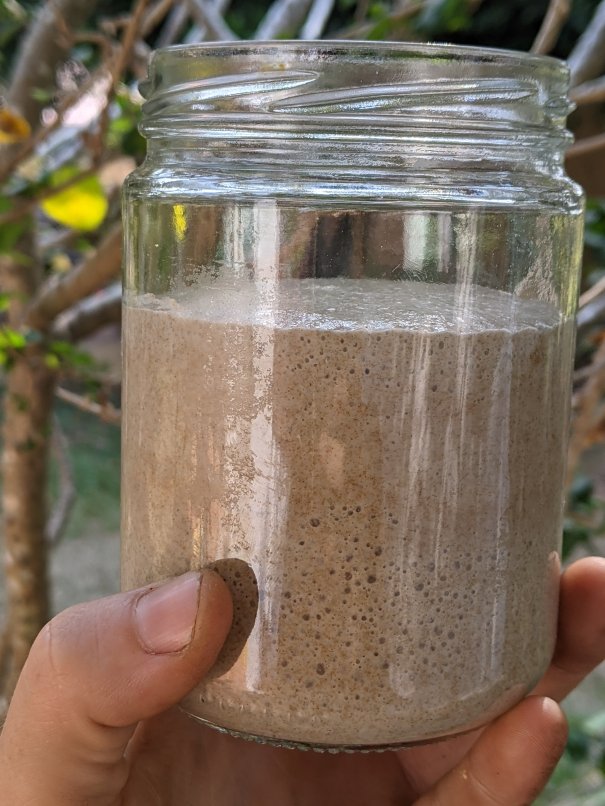
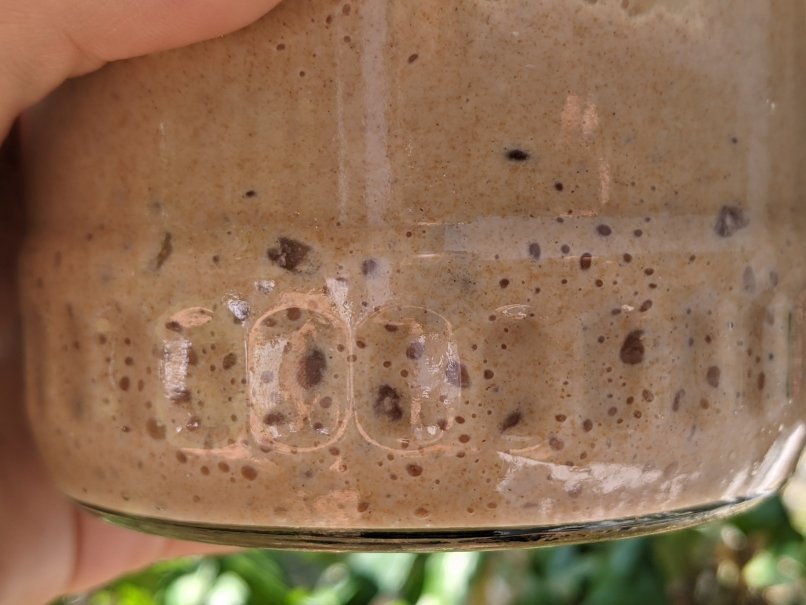
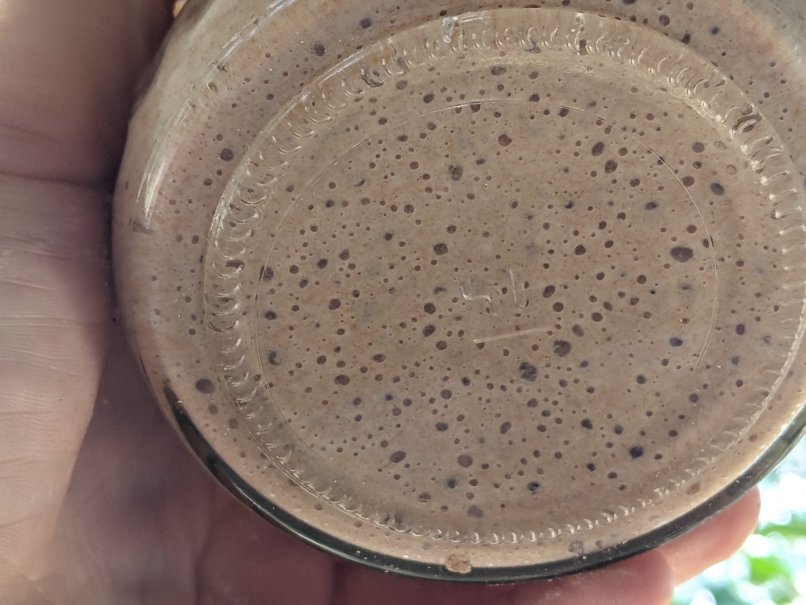
Though you might not have seen any action the past few days, by now you should have a culture full of bubbles.
Today we are going to feed it a little bit more….
- 5 tbsps rye flour (opt for good quality, organic flour for the best result)
- 5 tbsps unchlorinated water or filtered water
Mix in the flour and the water. Cover and let sit for another 24 hours. At this point, you don’t need to stir the starter anymore. It should have enough life so you can just let it sit by itself.
Day Six 6 - First Discard
Once you got a healthy starter going, it is time to either start using half of the starter to make bread or baked goods or discard half (can be fed to chickens or compost pile). Removing a part of the starter is necessary to ensure there is no buildup of yeast by-products that may interfere with the activity of the starter.
Remove half of the culture and add:
- ½ cup rye flour (opt for good quality, organic flour for the best result)
*¼ cup unchlorinated water or filtered water
Stir well, cover, and let sit on the counter until the next feeding!
Feeding and Keeping Yor Starter Alive
You can either keep it on the counter for daily use. Simply remove half of the starter daily and feed it ½ cup rye flour and ¼ cup water. Stir well and cover.
If you don’t need sourdough so often, you can keep it in the fridge to slow things down. This way you will only need to feed it once a week to keep it alive. Just as the one you keep on your counter, you will need to remove half of the starter and feed it ½ cup rye flour and ¼ cup water.
WISHING YOU ALL A HAPPY AND HEALTHY DAY ღ ღ ღ
ALL CONTENT IS MINE AND ORIGINAL!
PICTURE(s) TAKEN WITH GOOGLE PIXEL 3 XL
LET'S CONNECT!
🥑🍓🍆 FIND MORE YUMMY PLANT-BASED CREATIONS BELOW 🥑🍓🍆
APPLE CIDER VINEGAR QUICK PICKLE
VEGAN CARROT CAKE WITH VANILLA FROSTING AND TOASTED WALNUTS
NATURAL MEDICINE - FERMENTED HONEY GARLIC
VEGAN MOUSSAKA WITH CREAMY CASHEW BECHAMEL SAUCE

Originally posted here: https://hive.blog/hive-120078/@amy-goodrich/100-rye-sourdough-starter

No comments:
Post a Comment